Fun and Easy Snowman Pancakes!


Happy New Year! I still can't believe it is already 2014. I'm excited to see what this year has in store for us :) I hope you all had a wonderful New Year too!
So with winter here, and no way to avoid it, I made some fun and easy Snowman Pancakes for Eliana! I was inspired by our Nemo The Snowman Sandwich from last year :) I made these pancakes for Eliana back in December, I decided to wait to share these because I knew baby was coming and I wouldn't have as many posts going out, AND we are in the middle of a blizzard today so it is quite fitting to share right now! :)
If you follow me on Instagram or Facebook, you will have known by now that baby Samantha has arrived!! She was born exactly a week before Christmas on December 18th! I am so thankful for her health and her life and she has been such a joy! We have been adjusting wonderfully with our newest addition, even with lack of sleep and sickness going around in our house lol :)
So-- back to the pancakes! David had made pancakes but there was a little bit of leftover mix, so instead of letting that go to waste I found a way to use it up! To make these pancakes all you'll need is your favorite pancake batter (fully mixed so there are no bumps) and a squeeze bottle to draw on the skillet or griddle.
With your skillet, or griddle, on low heat draw the outline of your snowman. Let your outline cook until it gets all nice and bubbly. Then fill in each section of the snowman with the batter. Once the snowman is almost fully cooked, gently flip your snowman so it can cook on the other side.
I used a green grape for the hat, mini chocolate chips for the eyes and buttons, apple slices for the nose, scarf and arms and a chocolate sprinkle for the mouth. The "snow" is yogurt :) It was so simple to put together and Eliana loved it! I only did one and then let her decorate the others. I put all the ingredients in small bowls and let her assemble and decorate however she wanted.
Who says you shouldn't play with your food? ;)

Here is a picture of Eliana making hers! (she wanted them for dinner!) :)


For more Creative Fun Food stay connected!


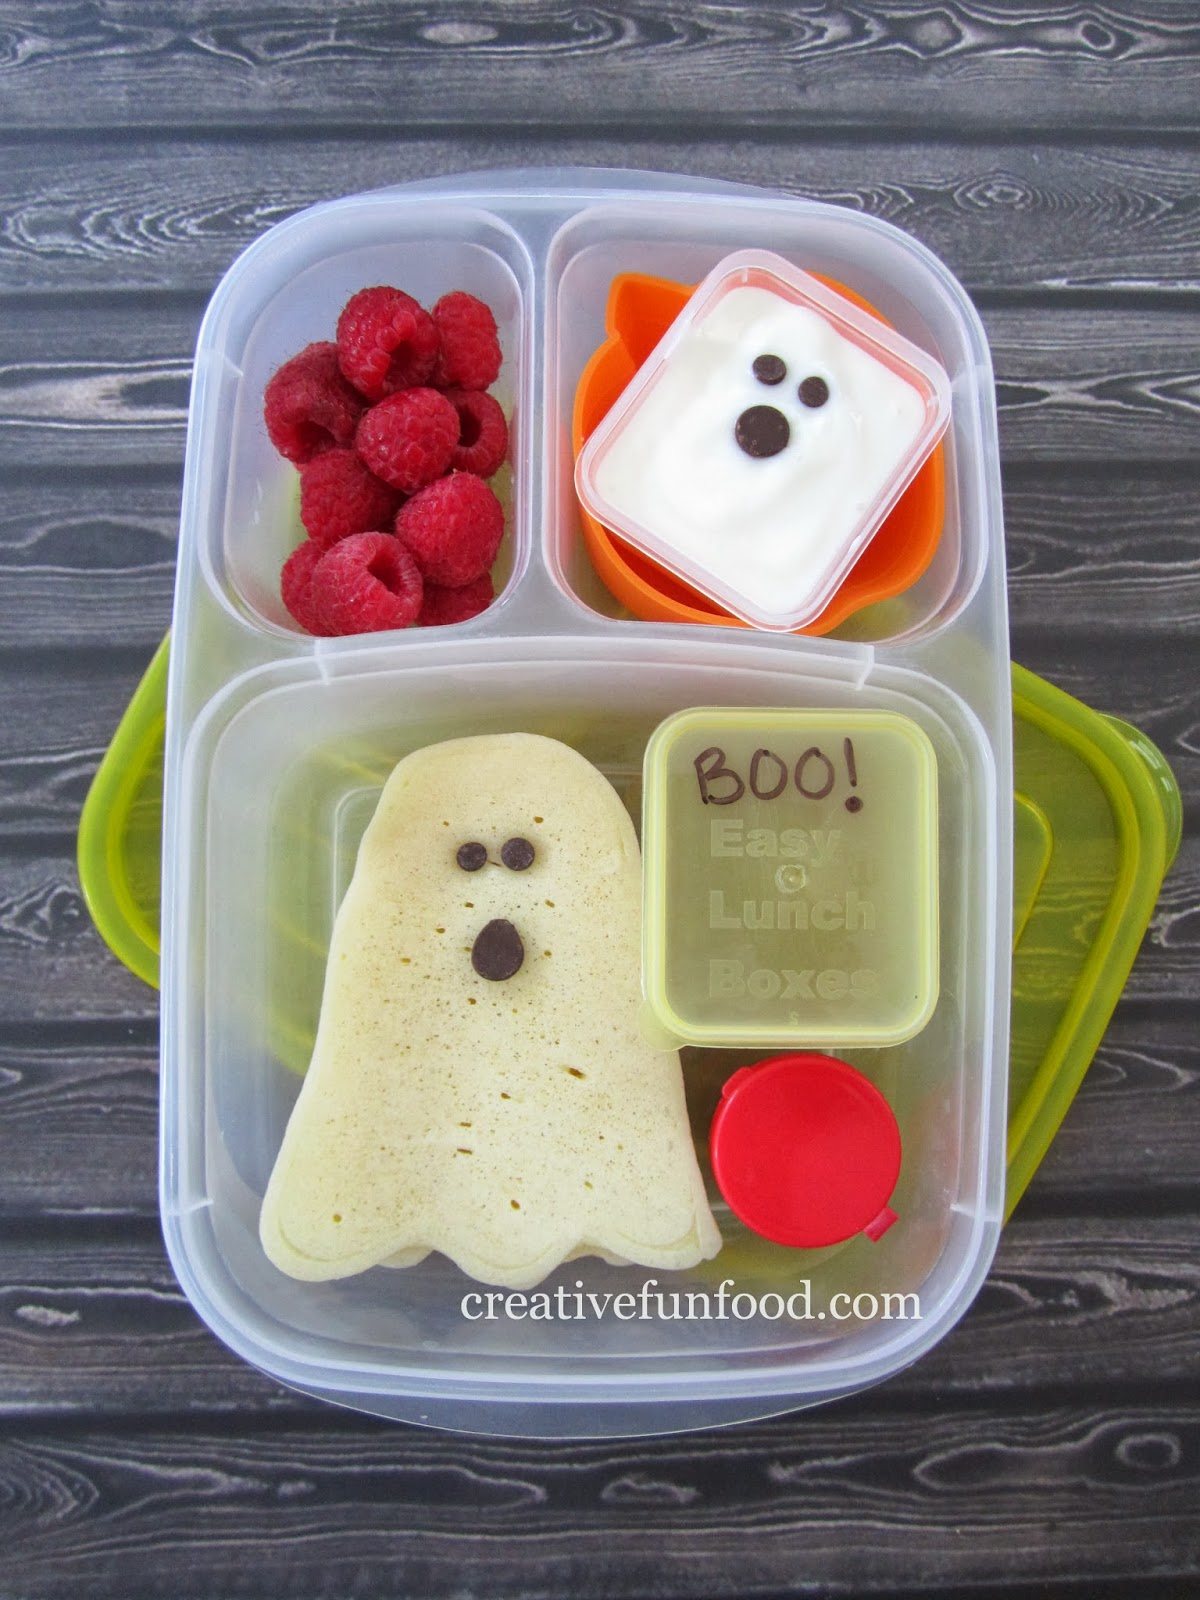

 I made her a simple breakfast for lunch. She had three
  . I froze that yogurt overnight to place into her lunch the next day so that it was perfectly thawed out by lunchtime.
 ... and well what I got was an egg... a ghost decorated egg... I wasn't that impressed but Eliana seemed to like it, so that works for me! Her ghost sandwich was ham and cheese topped with another piece of cheese. I slightly cut the bottom of the cheese to make it look like a ghost. Next to the ghostly egg sandwich is a babybel cheese. I decorated both the sandwich and cheese with my edible food markers for the faces.
 inside a spider silicone cup, all packed in her

 Eliana has a yet another ghostly lunch. I made a ghost sandwich, cut with a
  , filled with
  , and topped with cheese. I used melted Enjoy Life Chocolate chips (nut free and peanut free) to make the ghost's face.
 in a mini dipper inside that pumpkin silicone cup so that she could add to her yogurt. She didn't finish this lunch at school but she finished it when she got home.


